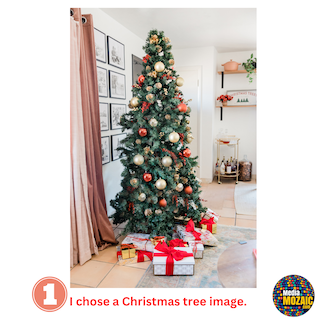
Canva has emerged as a user-friendly, time saving graphic design software. A lot can be done in Canva’s design canvas and Canva photo editor. For this blogpost, I am sharing some basic photo editing options for newbies to Canva. Let’s see what they are and how I used them to show you an example of a Christmas tree image editing.
Background Remover in Canva
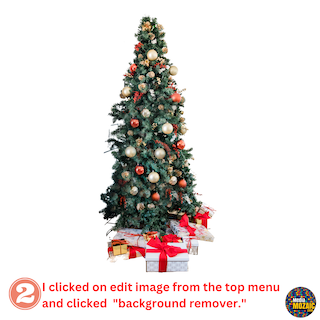
The basic, one click solution of removing a photo background is the “background remover”. It is for Canva Pro users. The process is simple.

You choose a photo.
Keep it selected in the editor, click on “edit image”.
The first option you will see on the left panel will be background remover. Just click on it and it does its magic only within seconds.
Adding Glow Effects in Canva
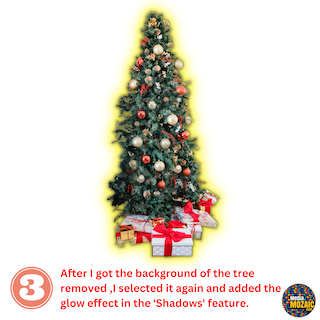
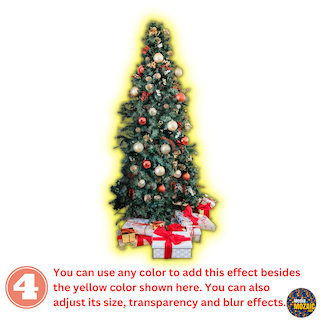
As you scroll down the edit image menu, you will find “Shadows”. Under shadows you have options to select, glow, backdrop, curved, page lift etc. I chose glow as you can see in this example. Besides the choice of colours for glow effect, You can change it size and transparency. All this is available by clicking on the three lines on the icon,”glow”.
Paint Effect in Canva
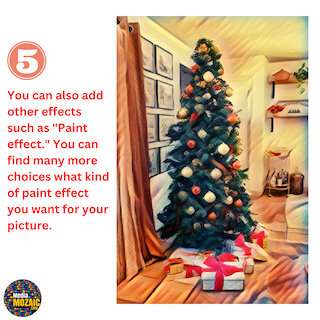
“Paint Effect” transforms the image into a hand painted image. You will all agree that sometimes we need to add drama to our images. It all depends on where we are using these images. There are many more options in the “Paint Effect” section and you can access these by clicking on “edit image” and scrolling all the way down to the feature which says ” Paint effect”.
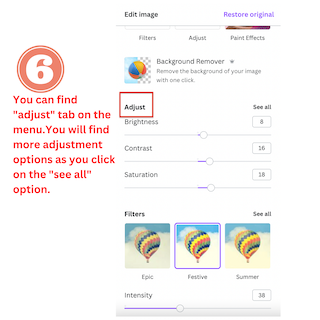
You can find adjustment settings with each choice you make. For example, you can adjust the look and feel of your selections; change the intensity, contrast or transparency of the images or effects. You can explore more and more options as you scroll down the Canva Photo editor tools.
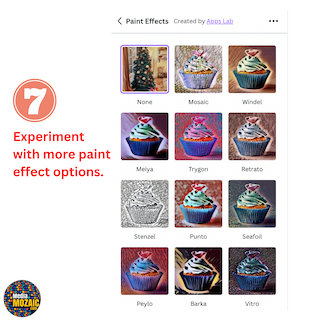
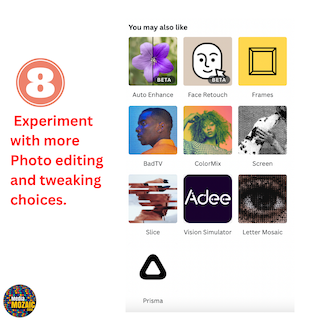
You will find more specific tools in Canva photo editor such as face retouch, frames, slice etc. You can experiment with these options to give yourself more freedom as a designer and more professional touch to your designs.
